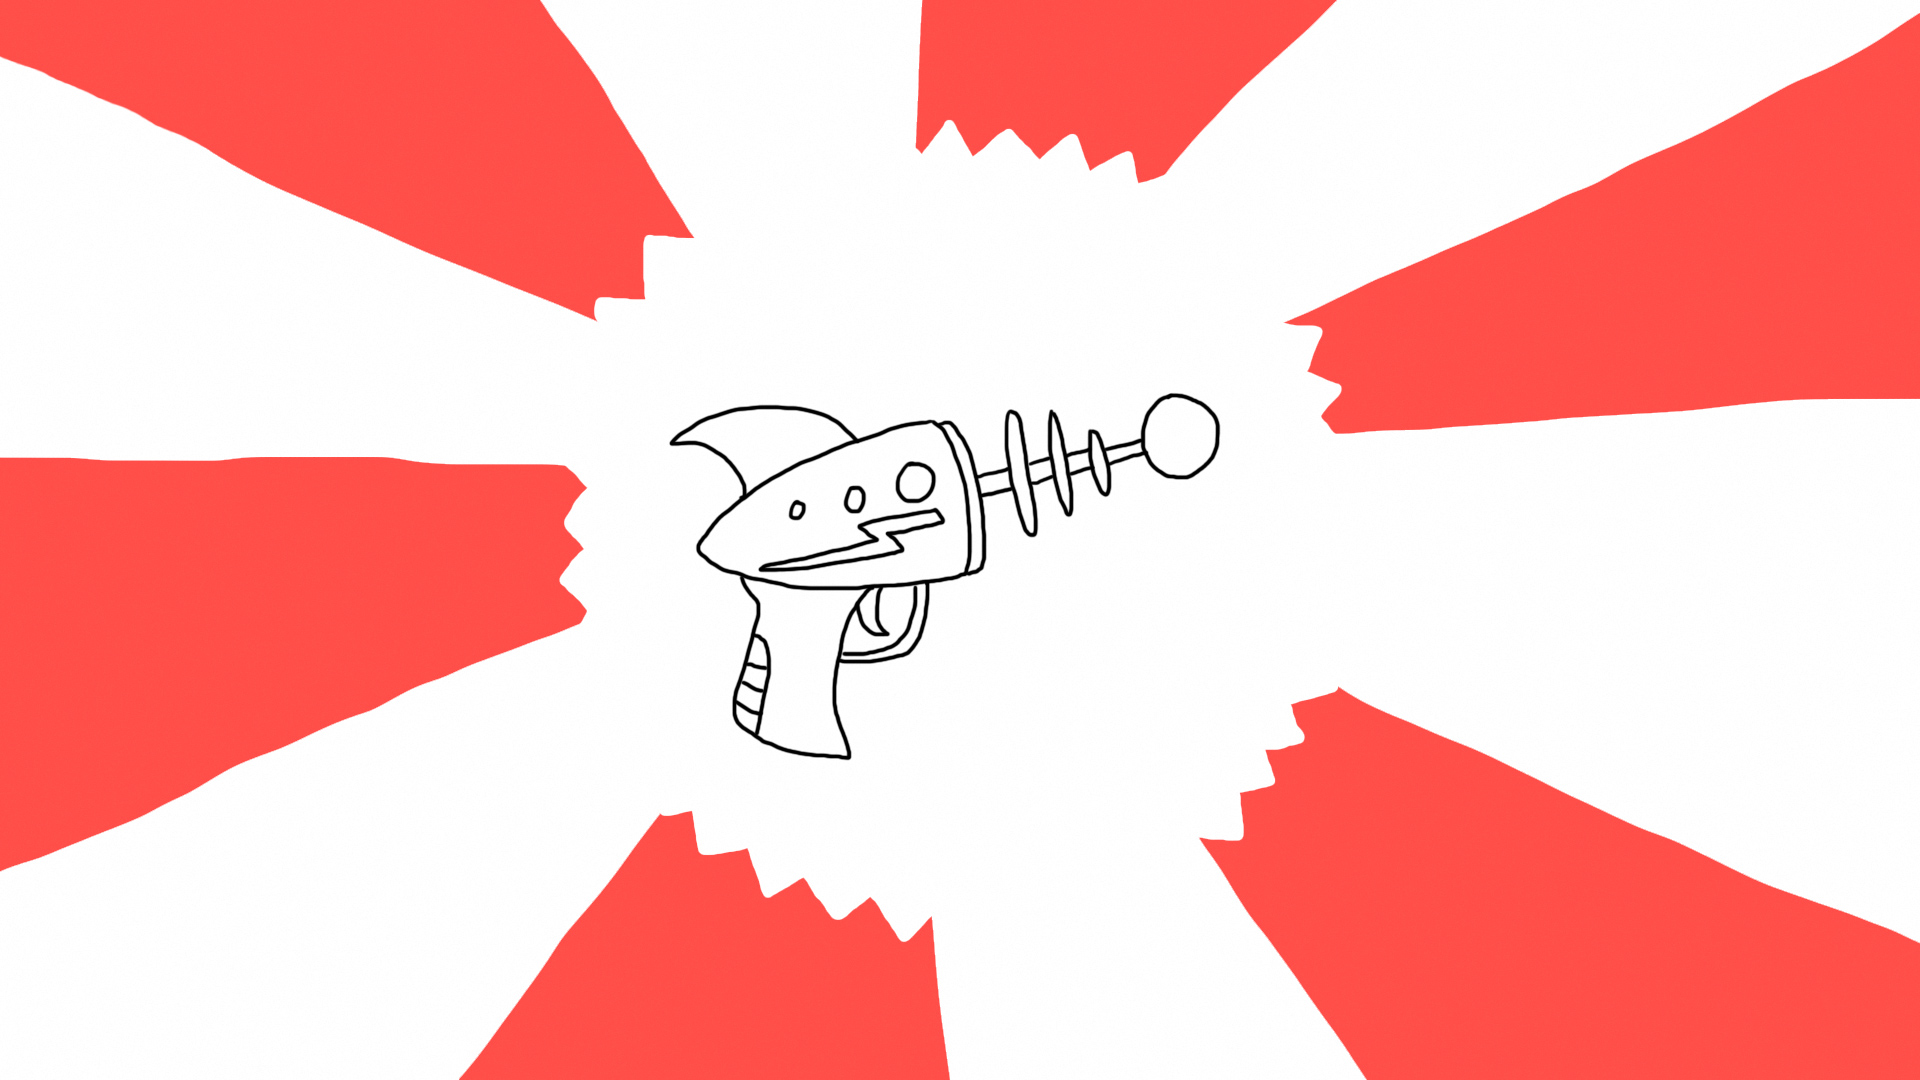
How to Draw a Ray Gun!
Here's how to quick draw a ray gun in 20 seconds
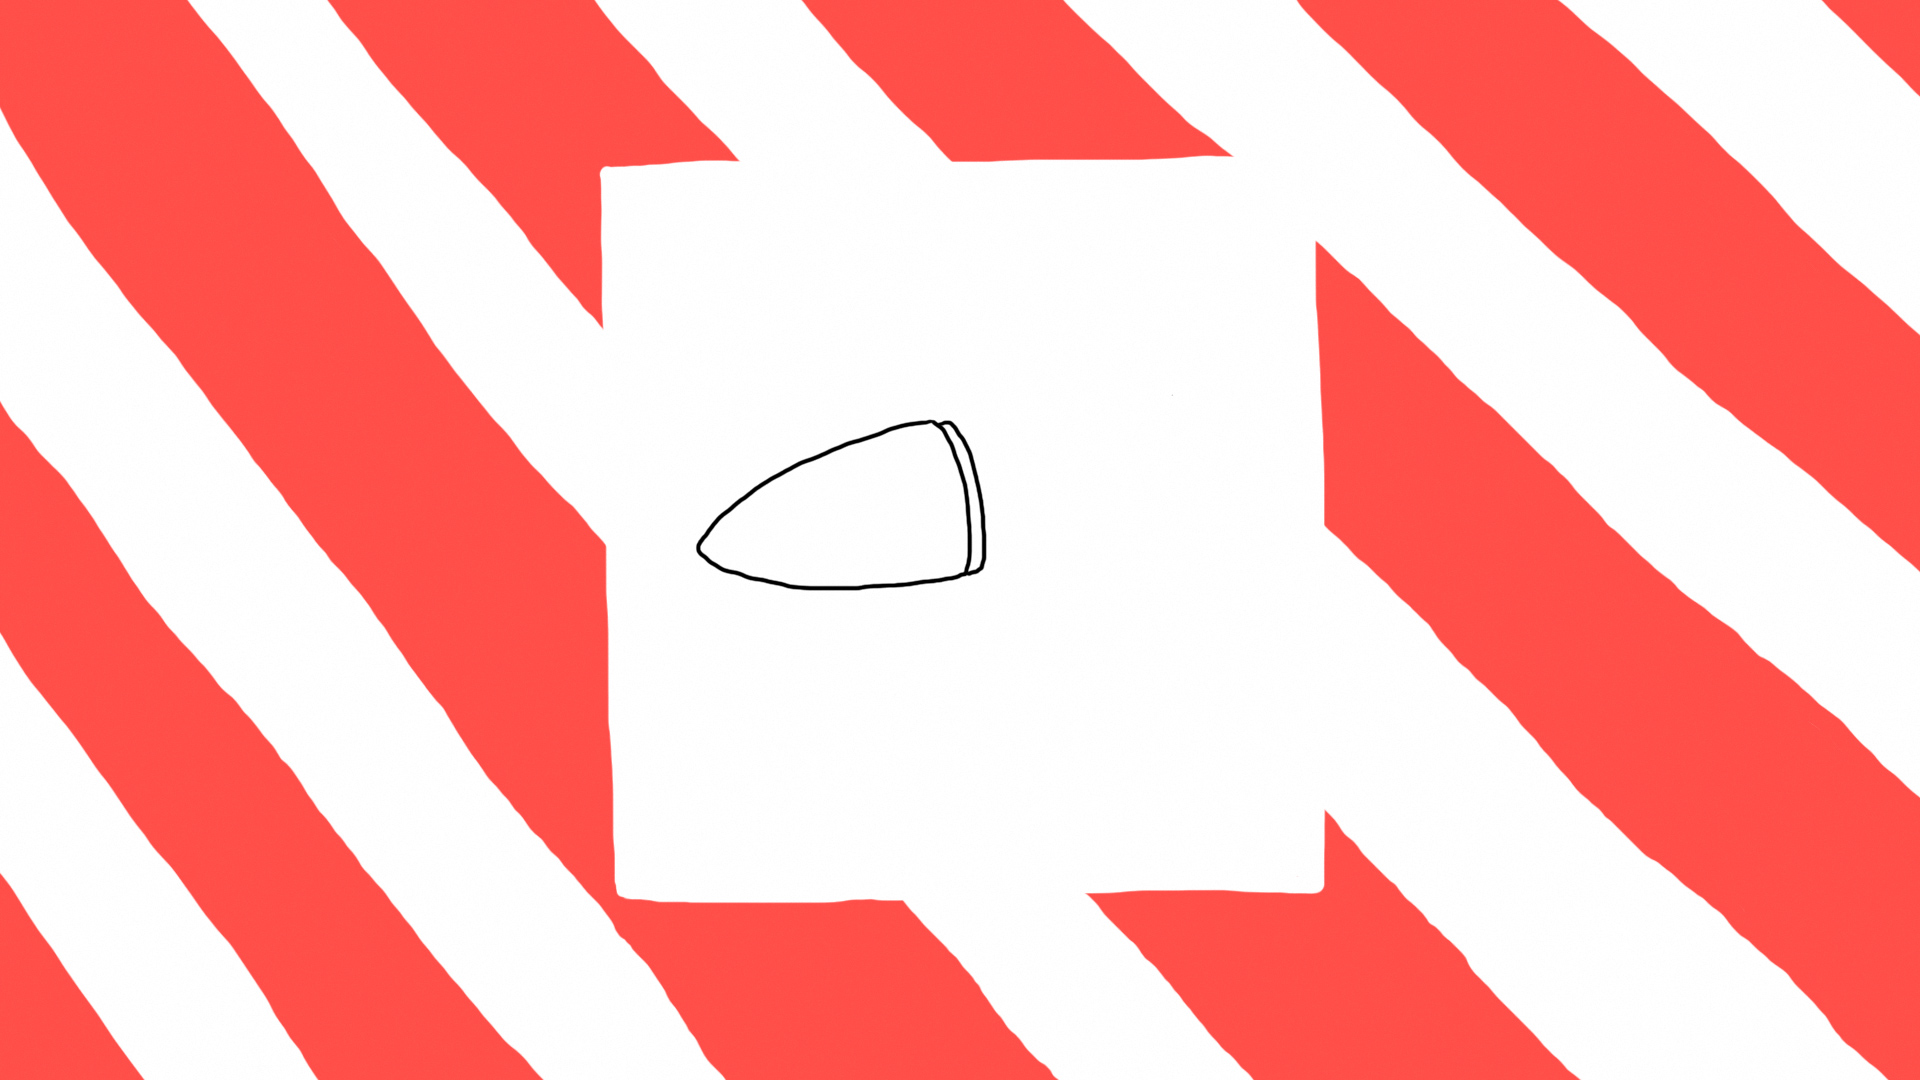
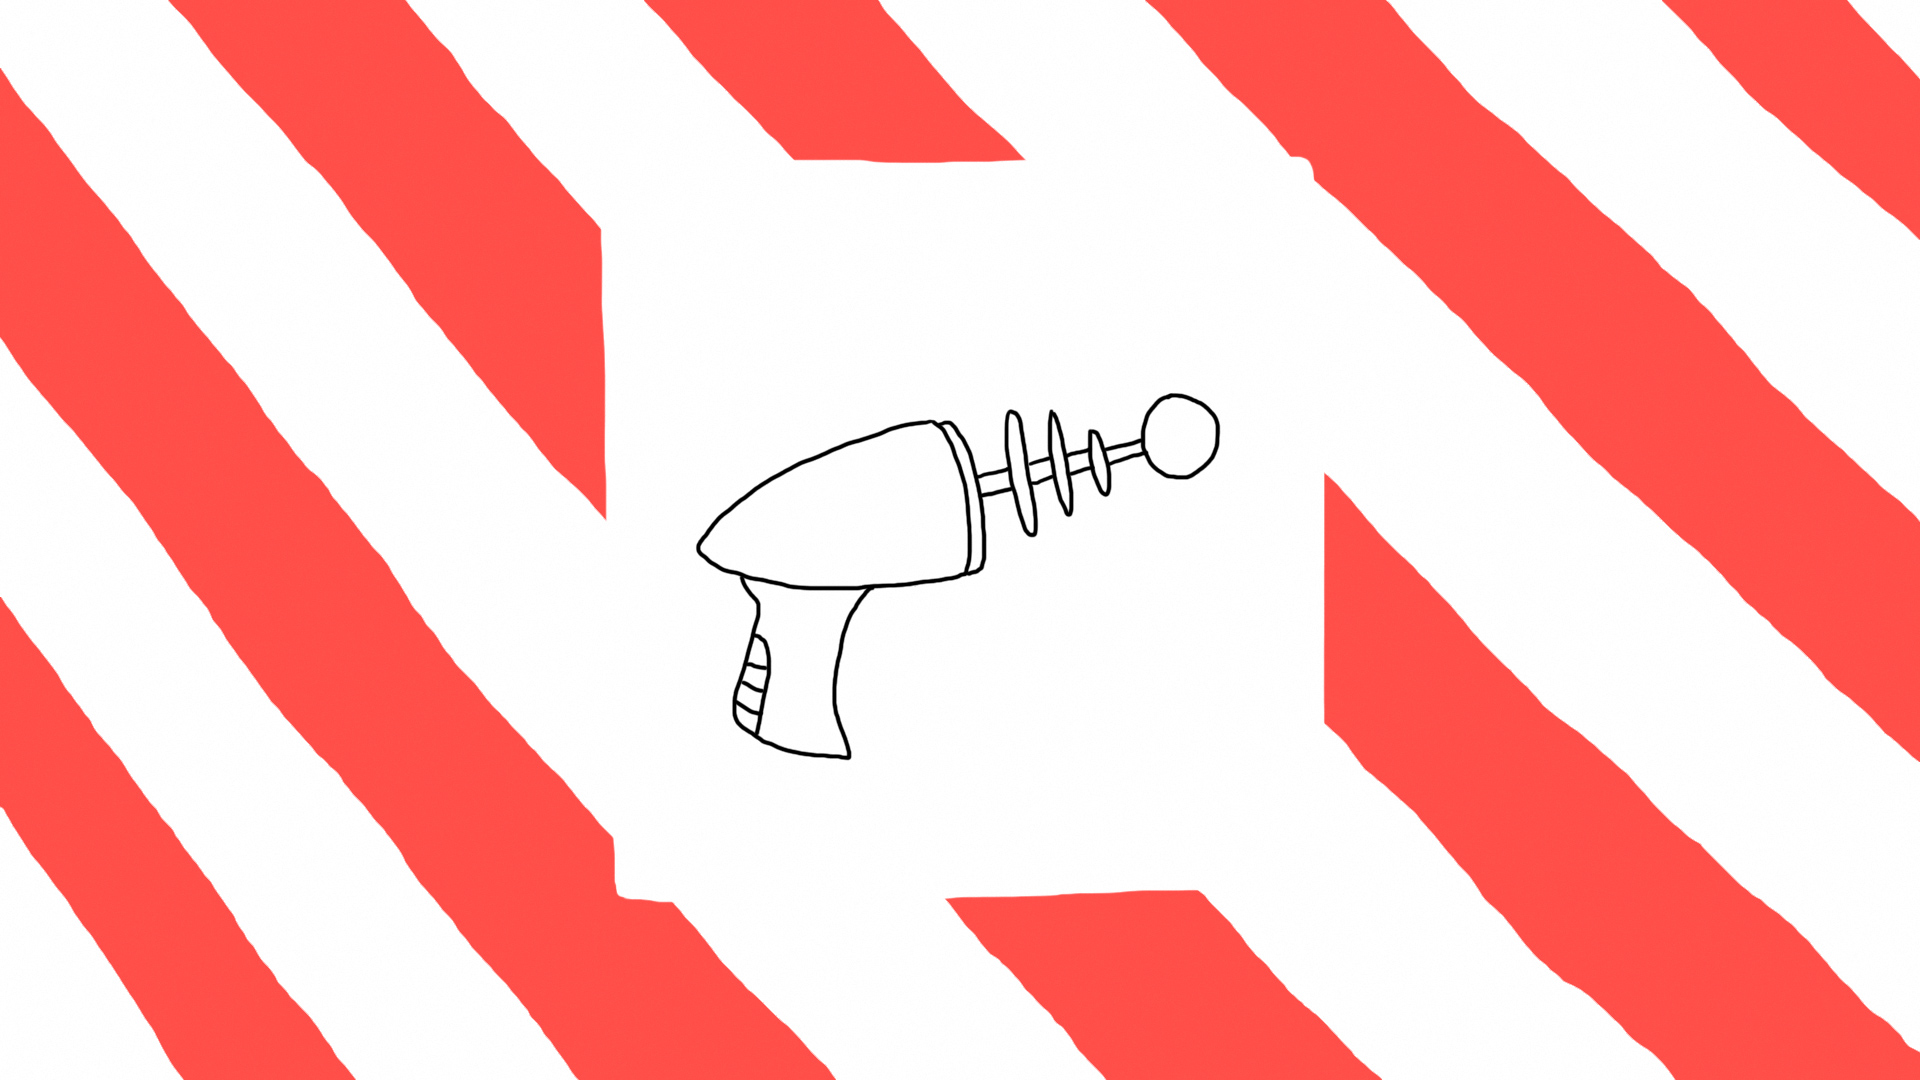
Step 1: Draw a body
Start with a good bullet shape. It's just like drawing a triangle with curved lines. Don't forget to add a lip to the front side of the body.
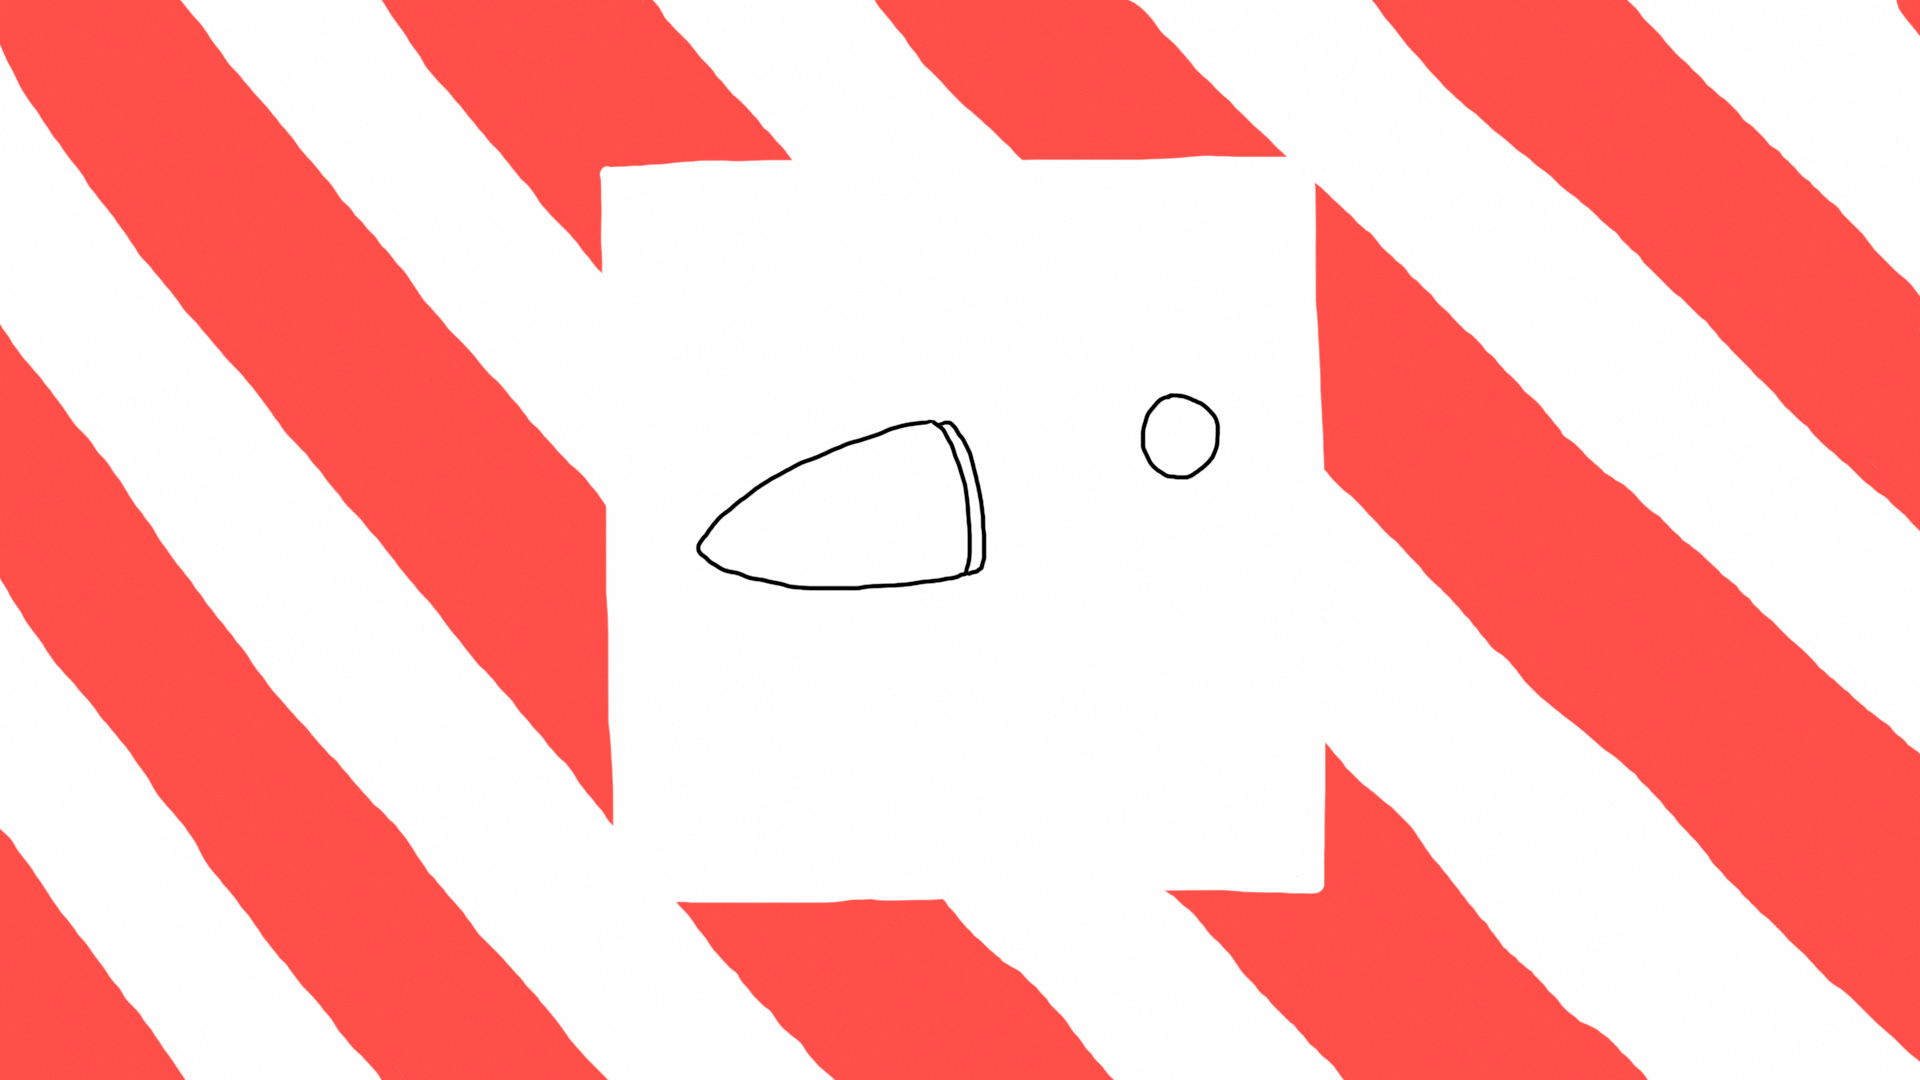
Step 2: Draw the emitter
This is where the rays come out. Simply draw a circle opposite the body. Be sure to leave enough space in between for the next step.
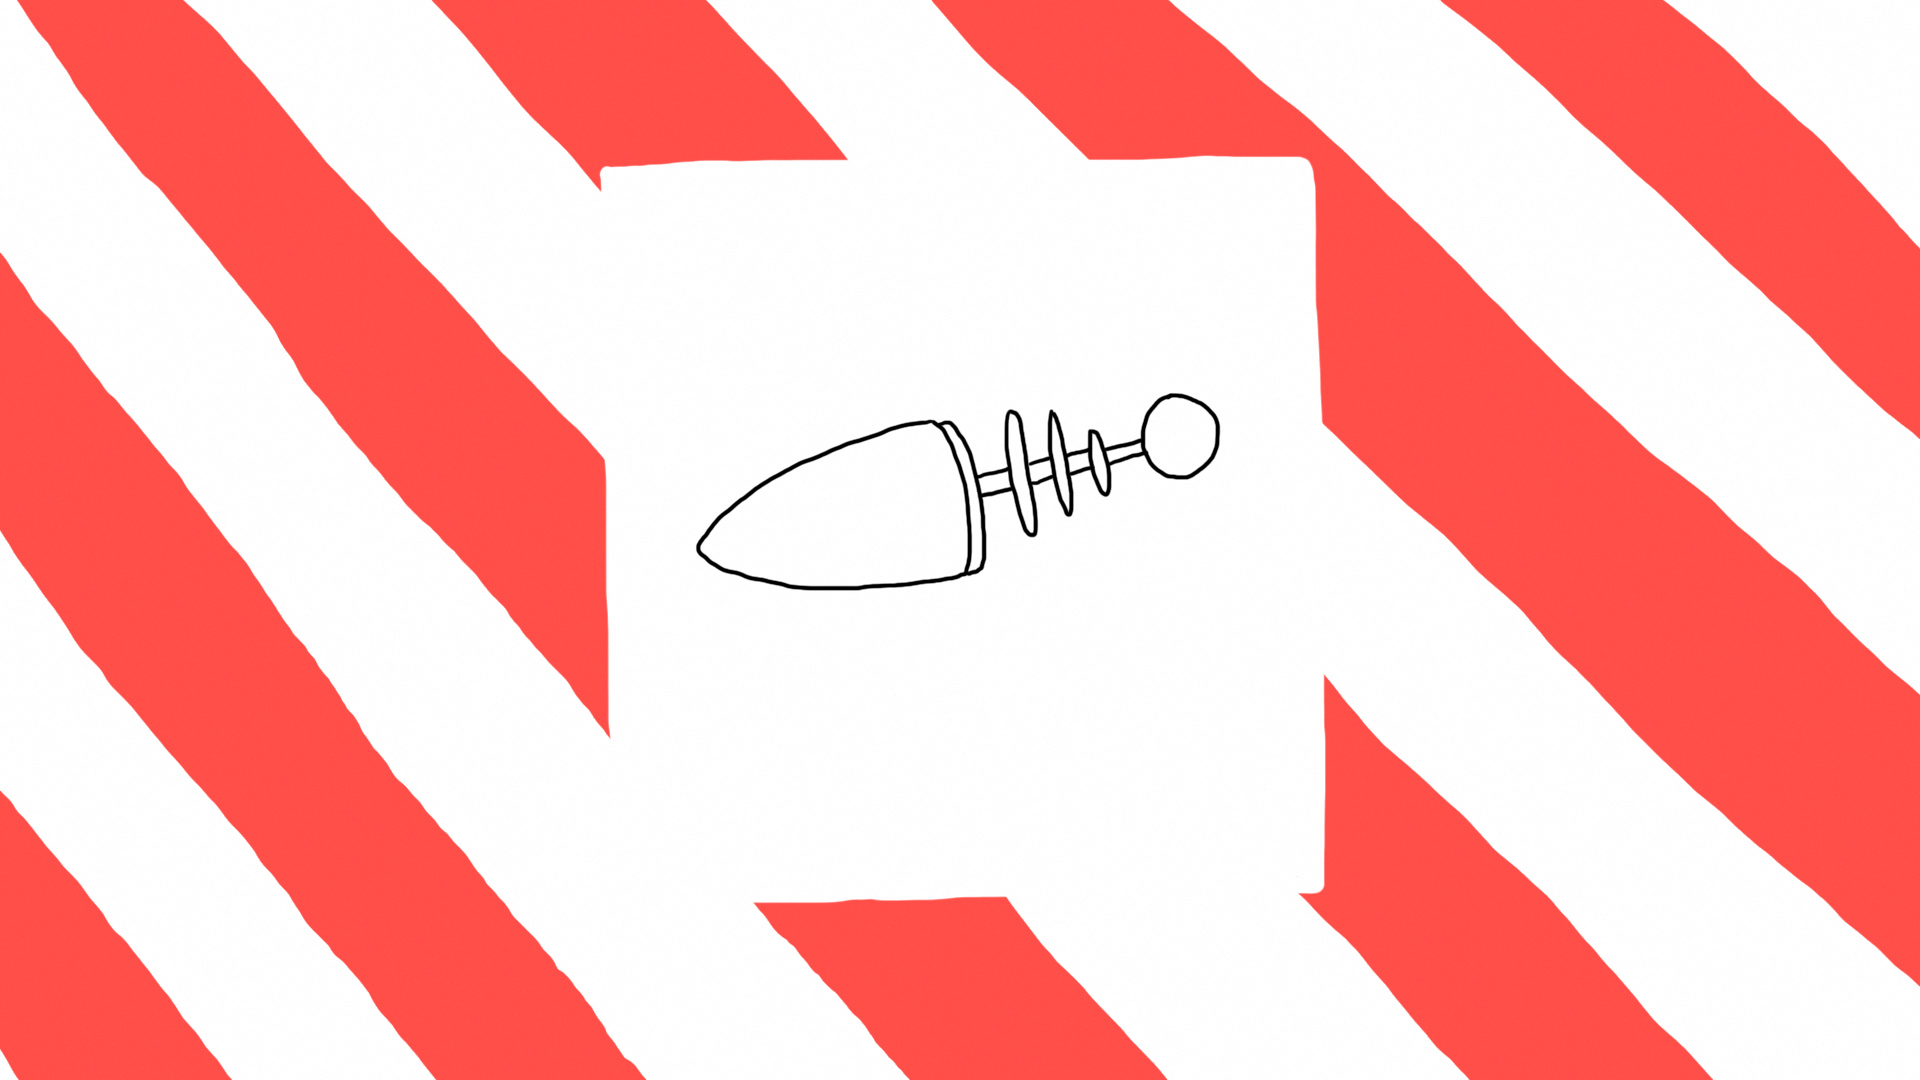
Step 3: Draw the coil
In between the body and the emitter, draw 3 thin ovals of different sizes and join them together with a super sophisticated carbon rod (or just a stick if you'd prefer)
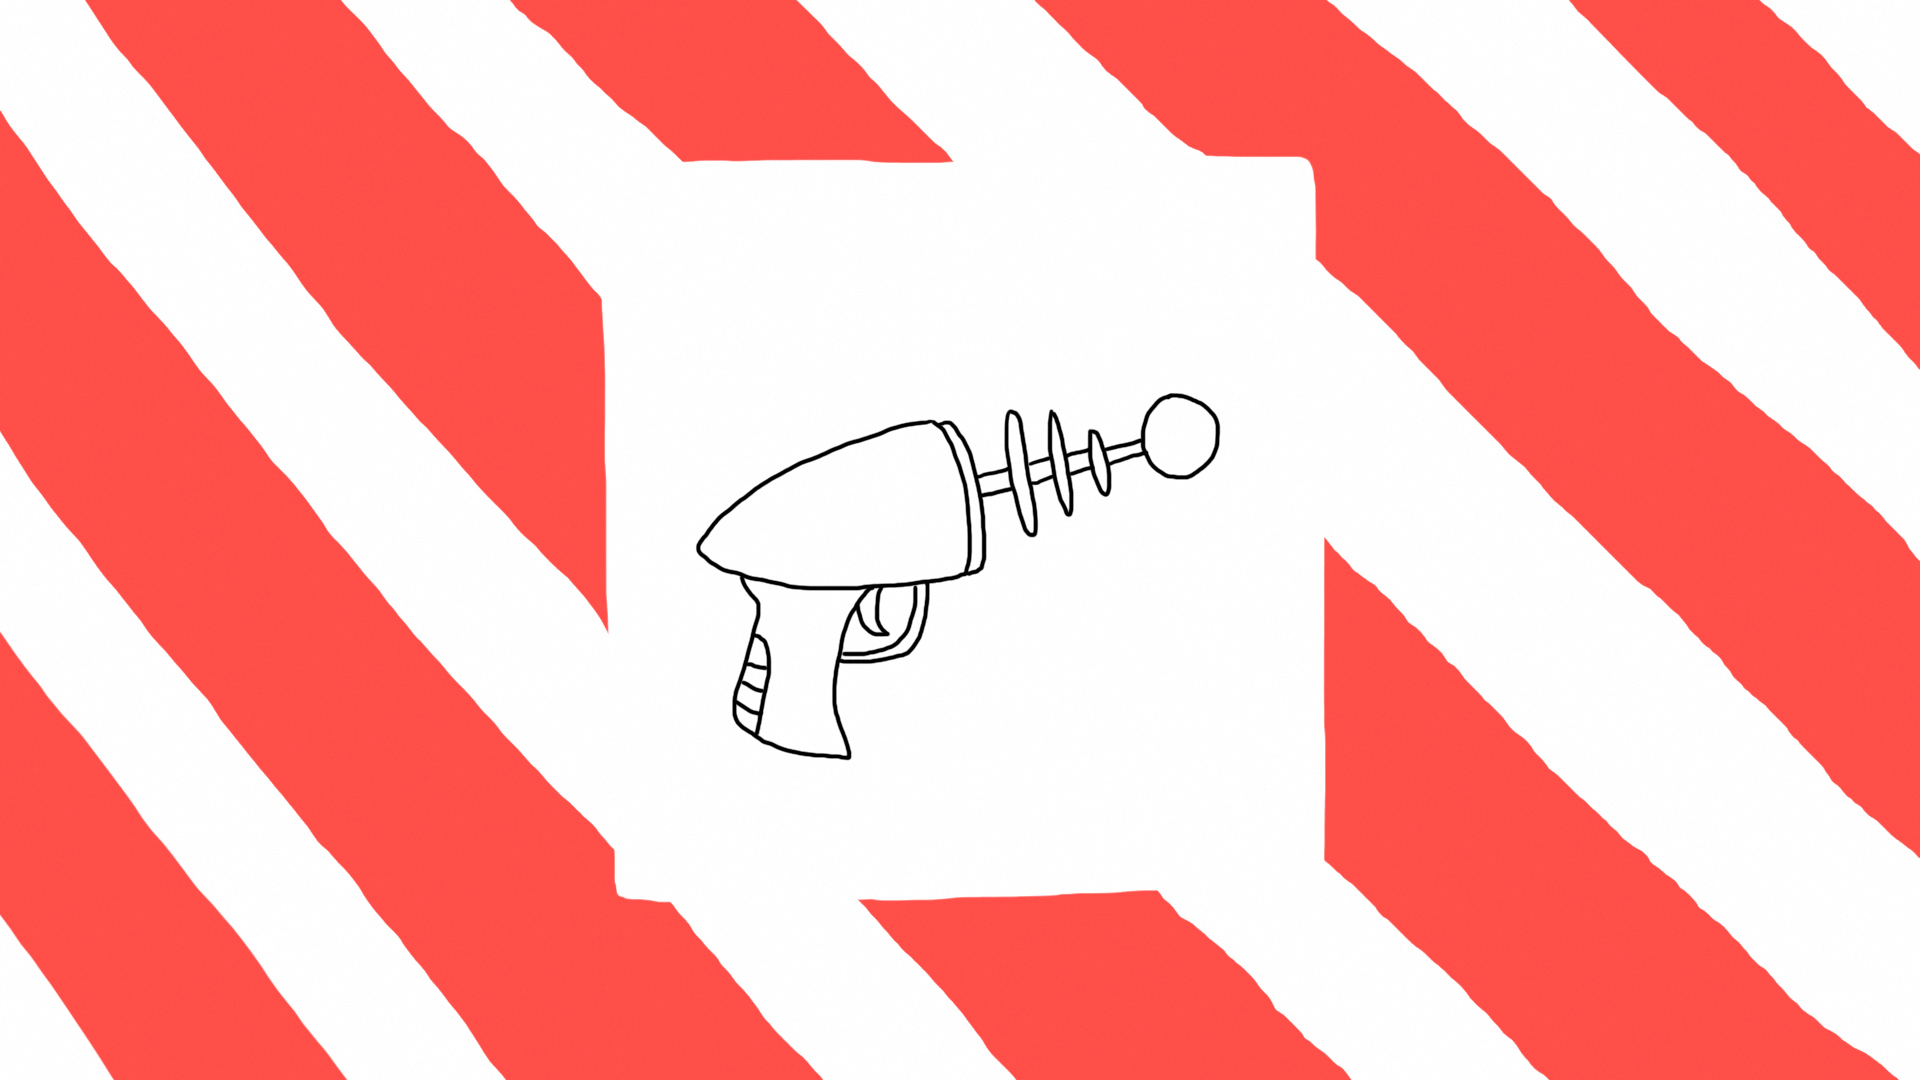
Step 4: Add a handle
Under the body, draw a nice blocky handle shape. Give it a curve on one side to make it look extra handley. You can also add some grip lines on the back if you like.
Step 5: Draw the trigger
Join the handle to the body with 2 semi-circles next to each other and draw a moon shape in the corner
Step 6: Add a fin
No ray gun is complete without a fin! Draw a couple of curved lines that join together at a point at the top of the body to make your ray gun look a bit like an awesome futuristic shark!
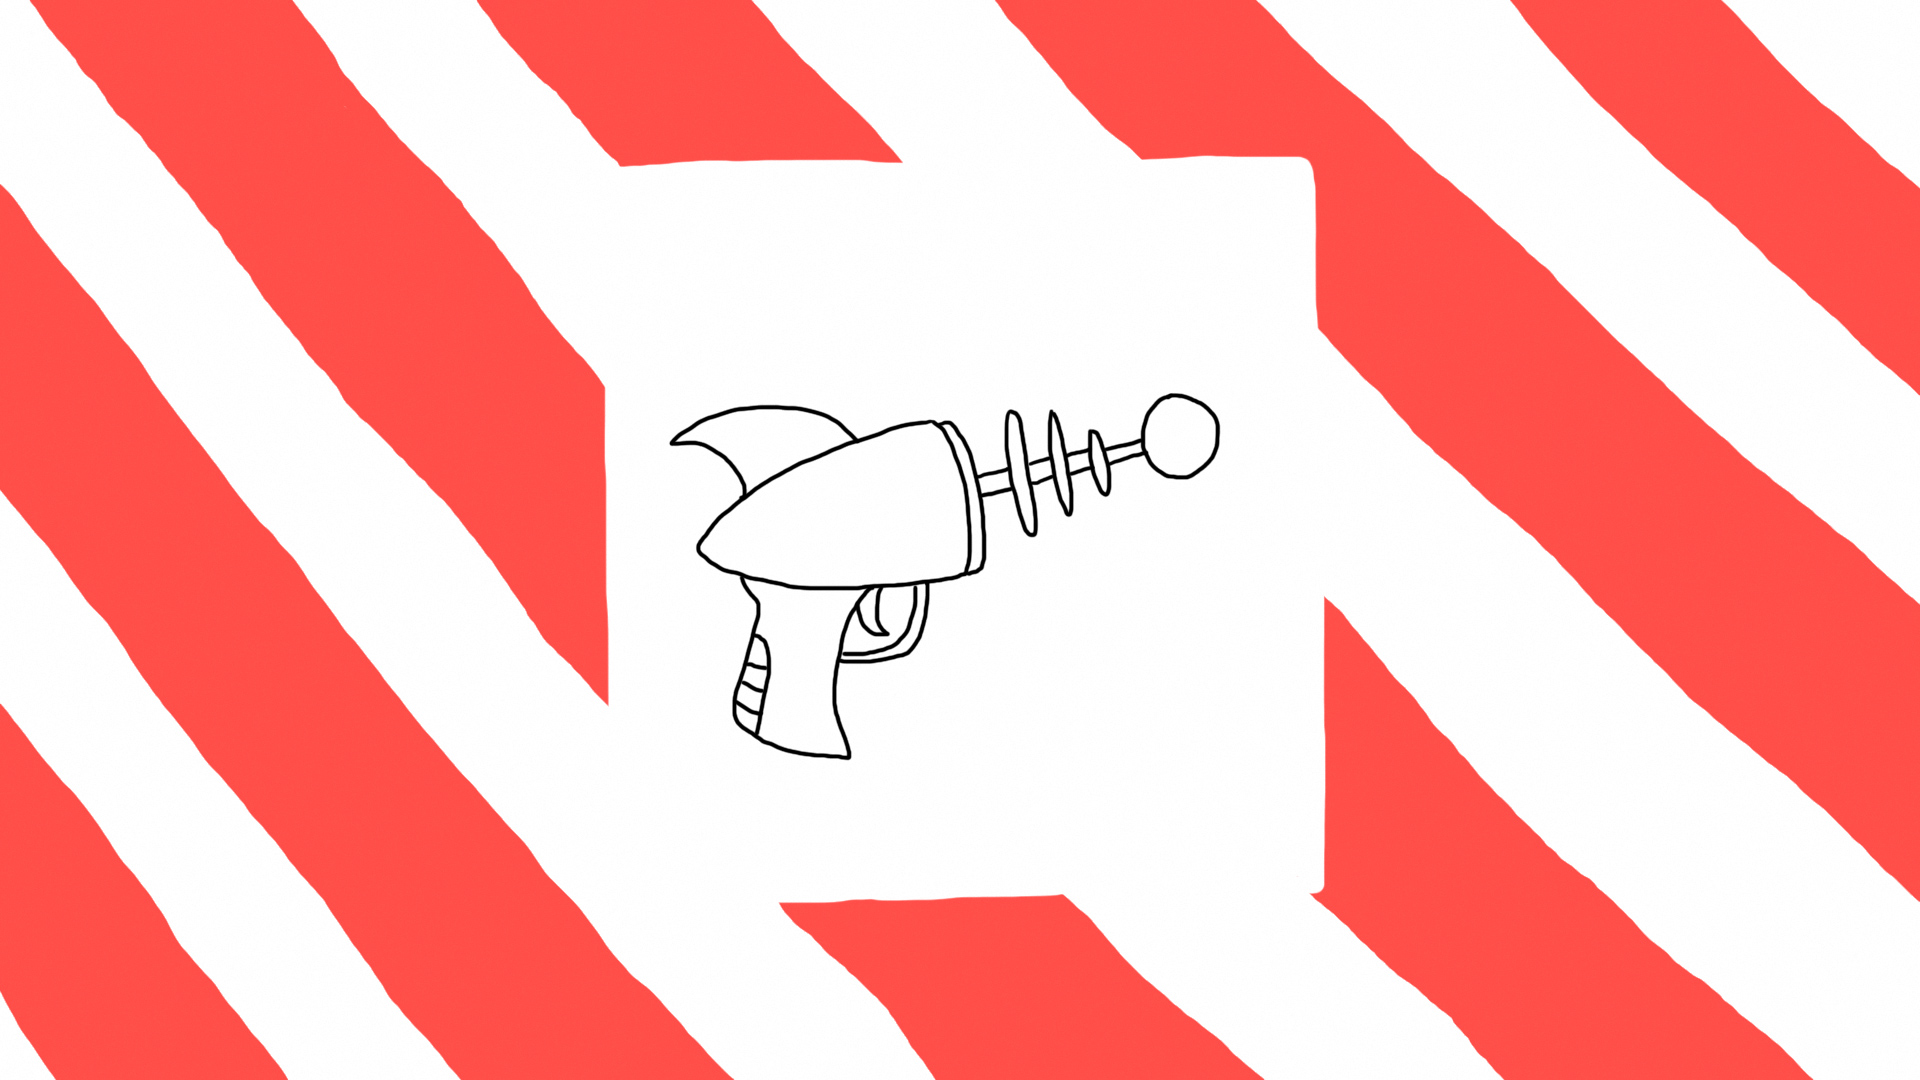
Step 7: Add in the extras
Finally, add in buttons and lightning bolts and wires and whatever you like to make your ray gun look proper spacey and epic!